Thursday, January 29, 2015

NonFiction Text Structures & Other Reading Skills

We've been working hard on different reading skills since we got back from break.

First, we spent a little time reviewing synthesizing...we'll continue to work on this one!
We then moved onto monitoring understanding. We didn't spend too much time on this one, as they had a good handle on it!
We've spent the last two weeks on NonFiction Text Structures-in between MAP testing and snow days!

I started off with a chart.
We discussed what each one was and we read some examples.

I had printed out some of Teaching With a Mountain View's Informational Text Structure Cards, and I had them glue one into their notebooks to respond to.

I noticed some students were still struggling with it.

So after we added it to our notebooks, I used some of her other informational cards and typed them up on my SMART Board.
I divided them into groups and had them discuss what text structure it was and why.
We had some lively discussions going on! We did have to do some reminders of being respectful of others' opinions-some of the friends got very excited!

Cue two snow days :)

I wanted to add some examples into their notebooks, so they could easily see the differences between them, and being inspired by the Blizzard of 2015, I used it as the basis for all of my examples.
We added them to our notebooks, and I had the kids do this one independently.

I made sure that they were getting the right ones, reminding them to check, and that just because they see a key word once doesn't mean that it's telling you the text structure!

I had the students pick another task card to glue into their notebooks and respond again.
We'll finish off with a quick assessment, and we'll be moving onto NonFiction Text Features!

Smiles and Sunshine,
Kaitlyn

Wednesday, January 28, 2015

Wordless Wednesday: Mini Help

http://secondgradesugarandspice.blogspot.com/


 What apps do you recommend for the 1 iPad classroom? (And is Confer worth the $$?)

Smiles and Sunshine,
Kaitlyn

Saturday, January 24, 2015

Spark Student Motivation: Plickers

Since Mini arrived, I have been looking for and trying out apps for the one iPad classroom. I found one through Caffeine and Lesson Plans (here) that my kids absolutely adore.
http://headoverheelsforteaching.blogspot.com/

Plickers is a website and app that you can use with your mobile device (I had to get a little creative to get it on Mini-I download it on my computer, and then when Mini synced with iTunes, it appeared).
https://www.plickers.com/
To start, you need to create a class and assign students numbers.
 
Each student will be getting a card that is specific to them-which you can print on cardstock (or you can buy through Amazon).

 https://www.plickers.com/cards
Once your students have their numbers and cards, you can create your questions-multiple choice or true/false only. 
You can create questions on the computer, or you device (I try to choose the computer, as sometimes Mini and I disagree with what I'm trying to type!).

You project your questions on the board, and the students hold up their cards with what they think the answer is.
You can scan their cards from one spot in the room, and when the app checks them, a check mark goes next to their name (there is also a graphing option, to see how many have chosen what answer-but I like the checks-it lets the students know that I've 'caught' them!)
You can do a graphing instead checks, and when everyone has answered, click the 'show correct' button to show what they answer is and how many got that answer.
What I like? You can clearly see who has it and who doesn't as you are scanning-their name will highlight green or red (or stay white if they haven't answered yet).

Plus, questions are saved, and you can view reports of the questions.
I love using this-it gives me a quick check to see who understands a concept and who doesn't.

Plus, my kids cheer when I say it's time for a Plickers question- they love the kids and seeing their name checked off! :)

Smiles and Sunshine,
Kaitlyn

Friday, January 23, 2015

Five for Friday

Well, this week flew by!


fiveforfriday2_thumb[3]

Divider 1
Meet my new friend...Mini :)
She's pre-loved, but we've been getting along great so far.

I would love any app suggestions that you have-but this is the only iPad in my classroom and the kids will probably not be touching it all that much. :)

(And, please tell me if it is worth it to buy the full version of Confer and/or Chronicle...thoughts appreciated!)


Divider 2
Since Mini and I are getting along so well, I've joined Instagram! (My phone is not smart...at all! ;)

Instagram
Divider 3
We took 2 out of the 3 MAP Tests this week...
which led to some professional reading time for me!

Divider 4

We started our Explorer unit (or resumed it from our sea monster maps! :).

First up, our Sailing Journey... (here and here)

We're also working our way through a set of 'articles' I wrote last year. I've modified them a little this year to have a short worksheet instead of a foldable-it will be a little more focused!

Except I want the article and organizer side by side, and we had an extra page in our notebooks, so...
A nice intro page to the unit! :)
Divider 5

We've been hitting the fractions hard...and I've been seeing some great understanding!
http://kaitlyn-smiles.blogspot.com/search/label/fractions
Stay warm this weekend!

Smiles and Sunshine,
Kaitlyn

Wednesday, January 21, 2015

More Fraction Fun~Unit Fractions and Decomposing

After our start of our fraction unit, we moved onto some key vocab and models.
http://kaitlyn-smiles.blogspot.com/search/label/fractions
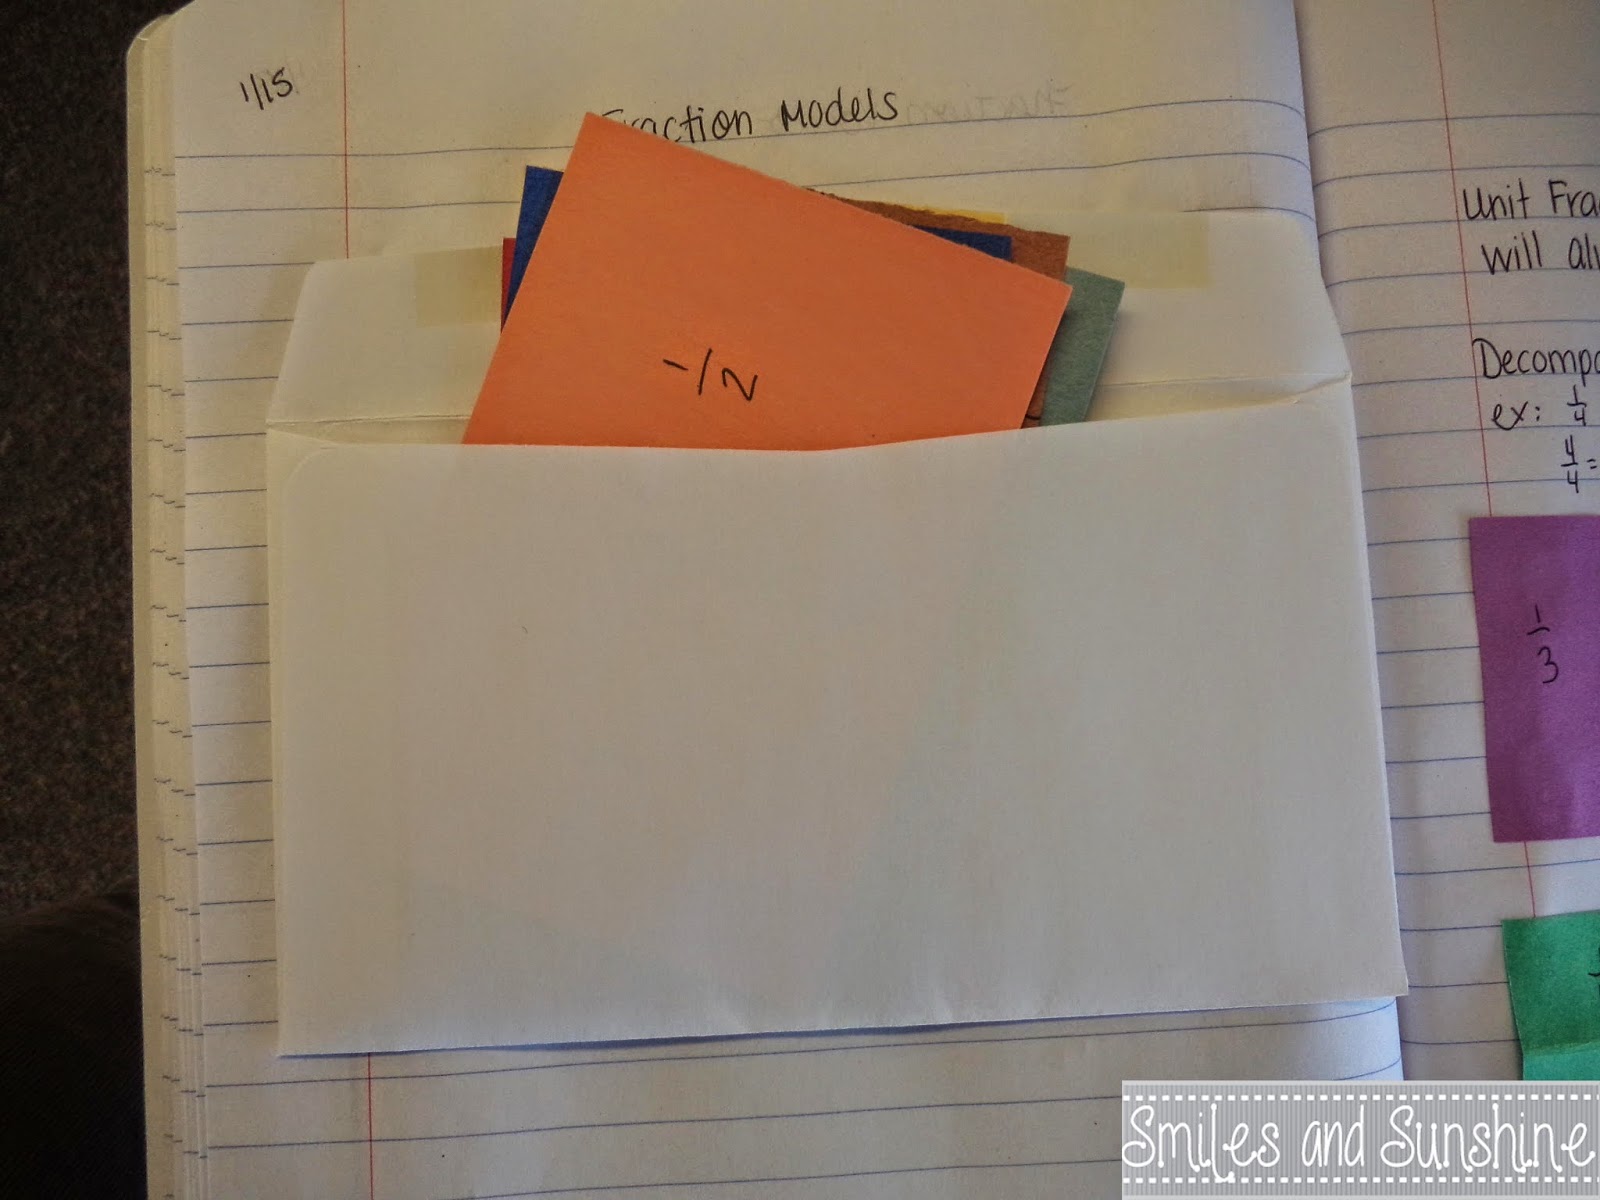
First, the students got 6 different pieces of construction paper (all the same size) and were instructed to divide each into a different fractional amount.
We added them to our Math Notebooks by gluing in an envelope to hold them.
I had the students label each section, which led us into a discussion about what a unit fraction was and how to decompose a number and what it meant.

They next day, students got a purple rectangle and a green rectangle-which were different sizes.

I modeled what I wanted them to do, first folding my rectangle into equal parts, and then labeling the parts.

After I had labeled the parts, I glued it into my notebook, and showed them how to decompose my whole, and the different ways I could do it.
Then, I asked the students to do the same thing-but they had to do it with sixths or bigger.

I loved leaving it open, because the kids self-differentiated. My not as secure friends stuck with sixths and eighths, while my very secure friends went up to thirty-seconds!
At the bottom, I gave the kids two fractions to decompose two different ways without the use of models as a quick assessment...it let me know who got it and who didn't!

I then gave them a little bit longer assessment to see how much they retained and if they understood the concepts we've been learned so far.

We had to fix some misconceptions about equal parts :)


We're almost done fixing misconceptions about fractions and equal parts, and will be moving onto fractions of a set next...We'll see how that goes!!

Smiles and Sunshine,
Kaitlyn
http://www.theteacherstudio.com/

Tuesday, January 20, 2015

Instagram

I hope everyone enjoyed their long weekend (and stayed safe if you were driving in the Northeast on Sunday!).

I've finally joined Instagram...and would love for you to come see why! :)

http://instagram.com/bookskt19/

Have a great day!

Smiles and Sunshine,
Kaitlyn

Saturday, January 17, 2015

Google Classroom

I recently decided to look into Google Classroom...we have a big test coming up (our state is a SMARTER Balance state) and students will need to be prepared to type their responses.

We tried it for the first time this week and it went well! (FYI, I am recommending this because I had such an easy time with it-not because Google is giving me anything-they don't know I exist...unless they Google themselves and this pops up :)

The first thing I had to do was to set up my classroom. You do need to have a Google Education account, so you may need to talk to someone of authority :)

There are two ways you can add students-by having them input a code, or inviting them through email. (The kids will need an email address too-our district set one up for every student)

I chose to invite my kids via email-I figured it would be easier and they would just have to click on a link. (Which means I scrolled through allllll the students in the district to get their email addresses-but as it was alphabetized by first name, I was able to scroll through very quickly!)

Once all that is organized (and Google gives you a nice tour), you can set up different assignments and things for the students to do-you can even do announcements.

Google has different ways you can set up assignments-I choose to add mine through Drive.

I typed up a prompt and saved it in my Drive-and kept it simple for our first time!

I went into the assignment tab and added it.
Classroom even has different ways of assigning it-I choose to have every student make their own copy.
This way, students could type directly on it.

Once we had finally gotten everyone signed into the right place, all they had to do was double click the assignment and it opened up for them to type.
Turn it in was also super easy-there's a button in the top right corner that says turn it in!

Students can click on it when they're done, and it'll ask for a confirmation.

They can cancel if they remember if they want to add, or they can go whole hog and click ok.
The best part?

On my site, it shows in real time who turned it in and who hasn't.
So if it is something you've assigned at home, or for a later date, it's a good way to tract who's done and who's not-and you can email them to remind them!

The only thing I don't like (and I've left feedback, so it may change), is that even though you can assign a grade to the right, you can't add your own rubric or create your own scale. (If you use it and leave feedback too, this will probably be even more likely to change!)

But, if you use traditional scales, they already have those ready for you.

I really liked using this, and I feel the possibilities are endless! Using Drive, you could create quizzes for students to do (and have them graded through forms!), as well as a multitude of other things.

I hope you find success with this!

Smiles and Sunshine,
Kaitlyn