Welcome to my Guided Reading area!
I wanted to do a post about my organization and set up, since it is something I thought a lot about over the summer, as well as 'perfecting' what works for me over the years. You can read previous posts about Guided Reading
here)
First up, my
Guided Reading binder. I've made a few modifications over the years, and streamlined it a bit.
Opening up
On the left pocket side, I have the Guided Reading Schedule, originals of my reading skills sheet and anecdotal records, and the Scholastic GR Level Wheel.
 |
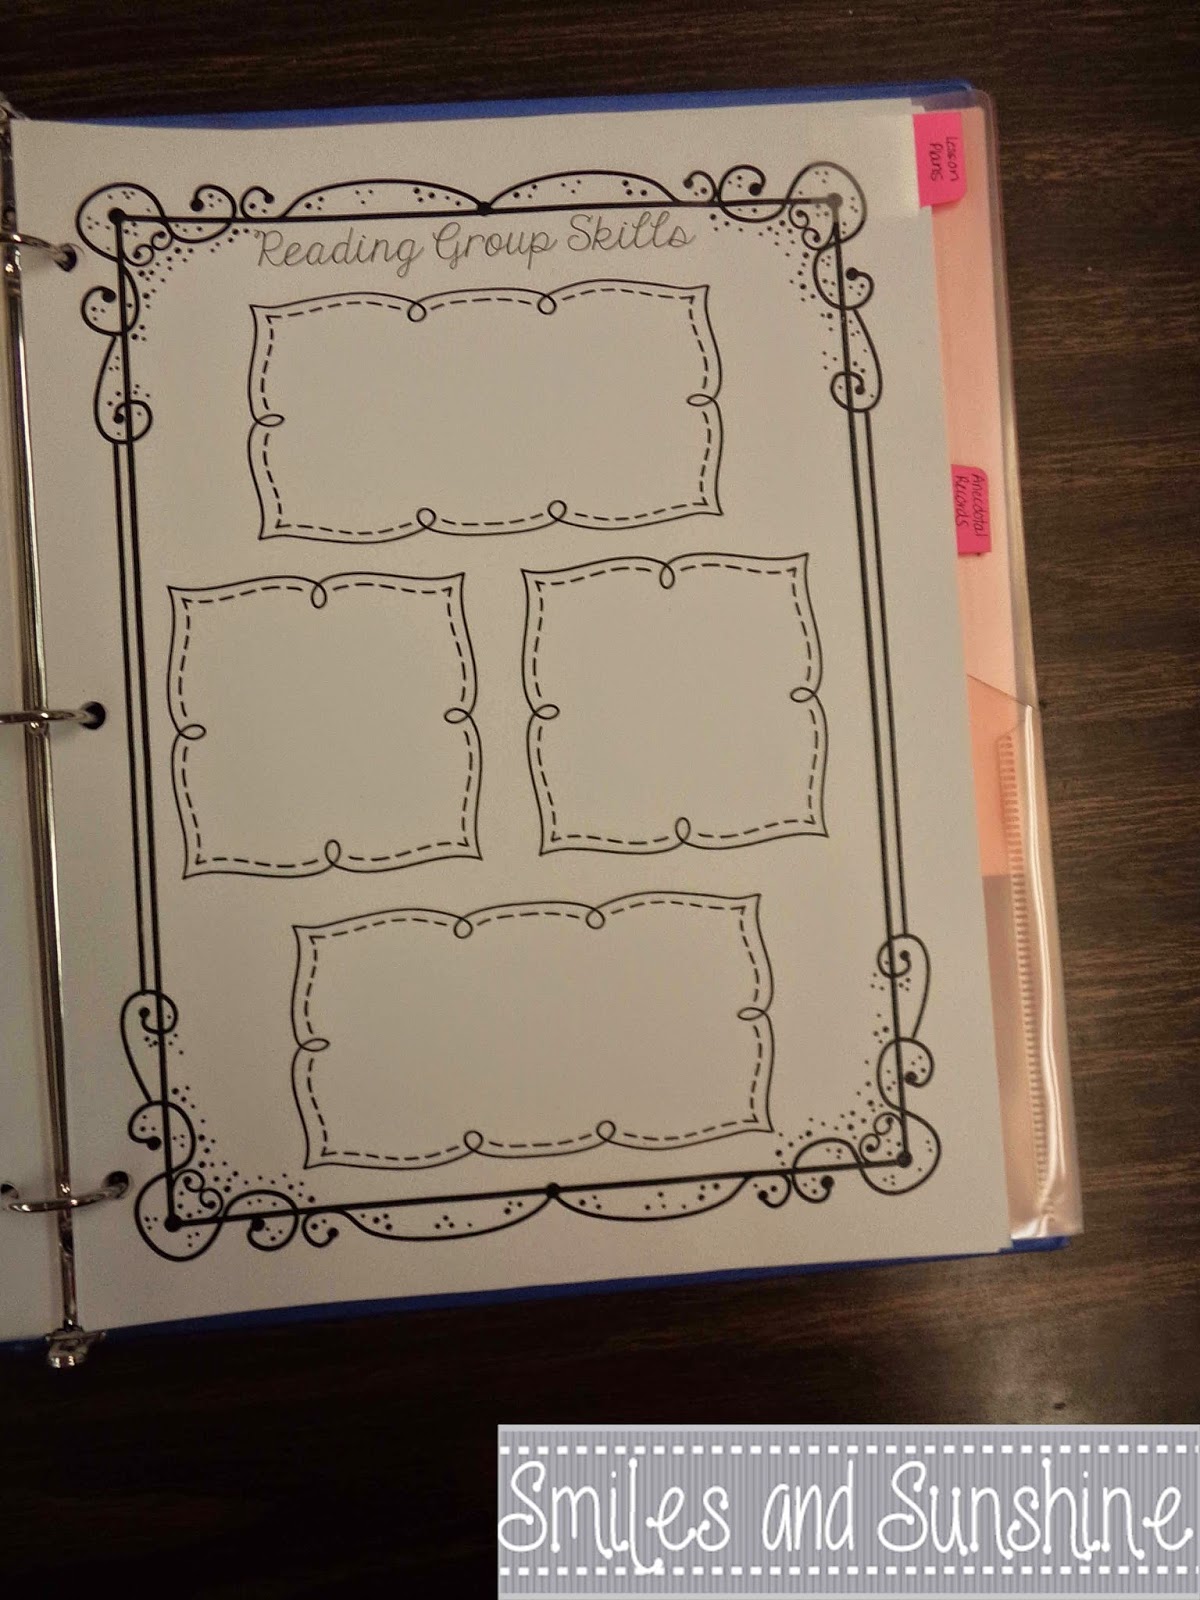
| Traditional lesson plans don't work for me (I never fill them out), so I thought I'd try this-just recording the books and skills we've covered, so I have some idea where we've been and things we need to focus more on. |
 |
| I use the 2 by 2 in. post-its-it's a little bigger that the 1/5 by 2, and gives me a little more room to write notes :) |
I have my binder tabbed, with a reading skills sheet in the front of each group, and then anecdotal record sheets for all students in that group.
My last tab has hole punched copies of the reading skills sheet and anecdotal records, so I can easily replace when I run out.
I also have pockets to insert any papers I need to save.
 |
| The Snapshot was a freebie from here (although I don't use it for my kids-I just store it there! :) |
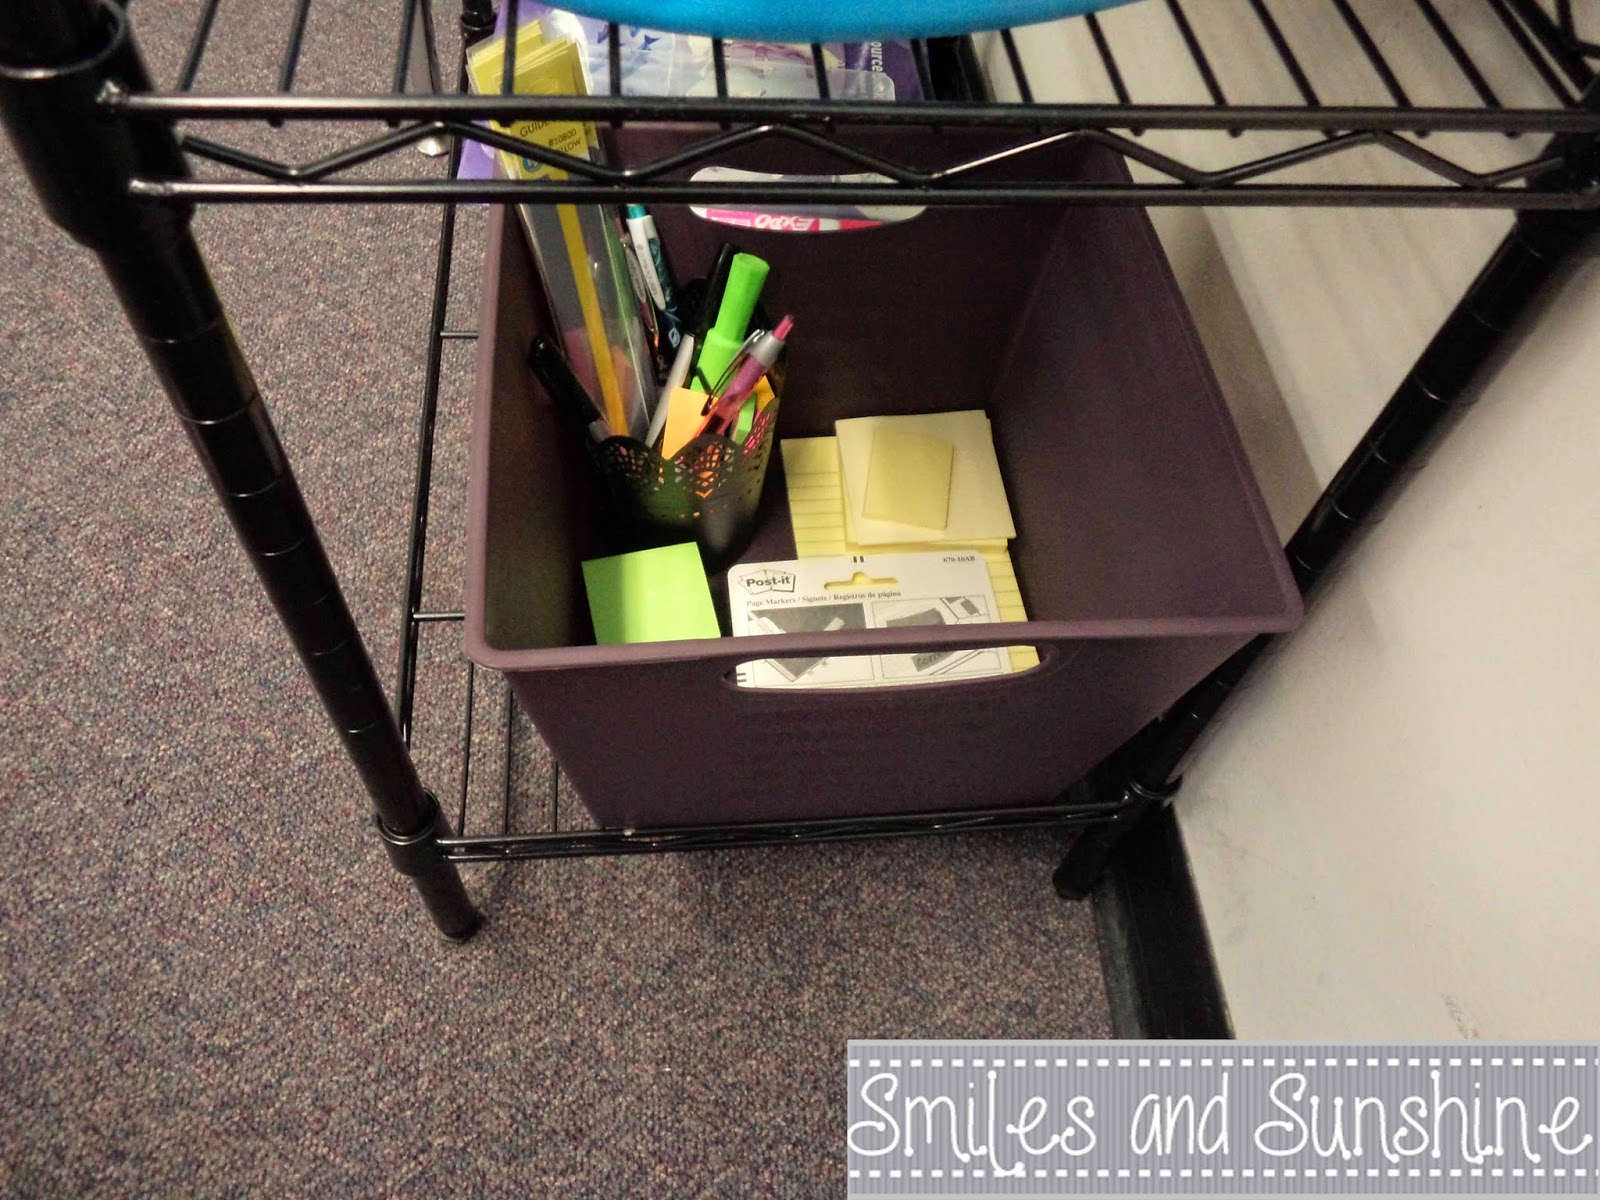
Moving around to my supplies. I have a bin to hold supplies-it's a little sparse now, but I'll add in task cards and other things as we start practicing some different skills.
In my bin, I have a cup holding pens, trackers, highlighters and skinny post-its.
In the bin, I have a variety of post-its. Task cards/fluency cards will be added as we go.
Behind my chair, I have hooks holding the
fluency task cards that I got from
Teaching With A Mountain View.
On the desk on my left side, I have worksheets, books, and a handy place to hide things :)
I've labeled all of the pockets, and worksheets are grouped by skill. (I use a mix of my own and various other sellers that I've bought over the years). They have a label at the top (staggered so I can see what's what).
As well as on the front-with a cute illustration!
I did put packing tape over all the labels-just to make sure they stayed stuck :)
I also have the resources I use often handy.
 |
| Frequently used strategies from The Next Step in Guided Reading |
 |
| Bought from here and bound at Staples-added tabs for each different section. |
And that's it! We have Guided Reading books that came leveled with our literacy series (and the GR books are pretty decent), as well as a book room I can pull from. Of course, I also have some sets of my own. :)
Smiles and Sunshine,
Kaitlyn


![fiveforfriday2_thumb[3]](https://blogger.googleusercontent.com/img/b/R29vZ2xl/AVvXsEgVM4-W5zORU3G5pQHlZEYkgiiBIRaXZqPyyHY1x2tkjNukfTSDuXEj-89zz-S9HSMozpujGdag3KjRVx40O4qY8RPMNEOH7VsX5ph5eP6kIliobANt-xvb4O_F_Ttl2jj8EYfuOu4jLWvW/?imgmax=800 "fiveforfriday2_thumb[3]")


