Showing posts with label fractions. Show all posts

Tuesday, June 16, 2015

Math Toolkits~Fraction & Measurement

As I was looking at the mess that has become my shelves (again! Although it's not as bad when I first started :), I realized that there had to be a better way to store all of these manipulatives.

For new friends, I have at least 3 complete sets of some things-one that was already in the room, one from the Go Math! pilot from last year, and one from our new Math in Focus program this year!

As I was pulling down and rearrange the manipulatives to get what I needed for our game, a lightbulb went off!

Why don't I create topic specific math toolkits that have everything they need?

That way, the kids could easily grab what they needed (after they're labeled :), and it would take up less space and look neater/nicer.

Insert storage!


I did buy these with a gift card-if I hadn't had one, it would have been a much longer process getting what I need. As it is, I still need about 16 more smaller ones and 10 larger ones.

(I got these from Target online-but they are Sterilite containers, so you can get them anywhere (Target does place a limit on how many you can order at a time-and don't buy the bundle! It's about $3 cheaper to buy them individually than the bundle they have online)

Once I had unpacked them all, I lined them all up and pulled down the manipulatives I wanted to put in them.

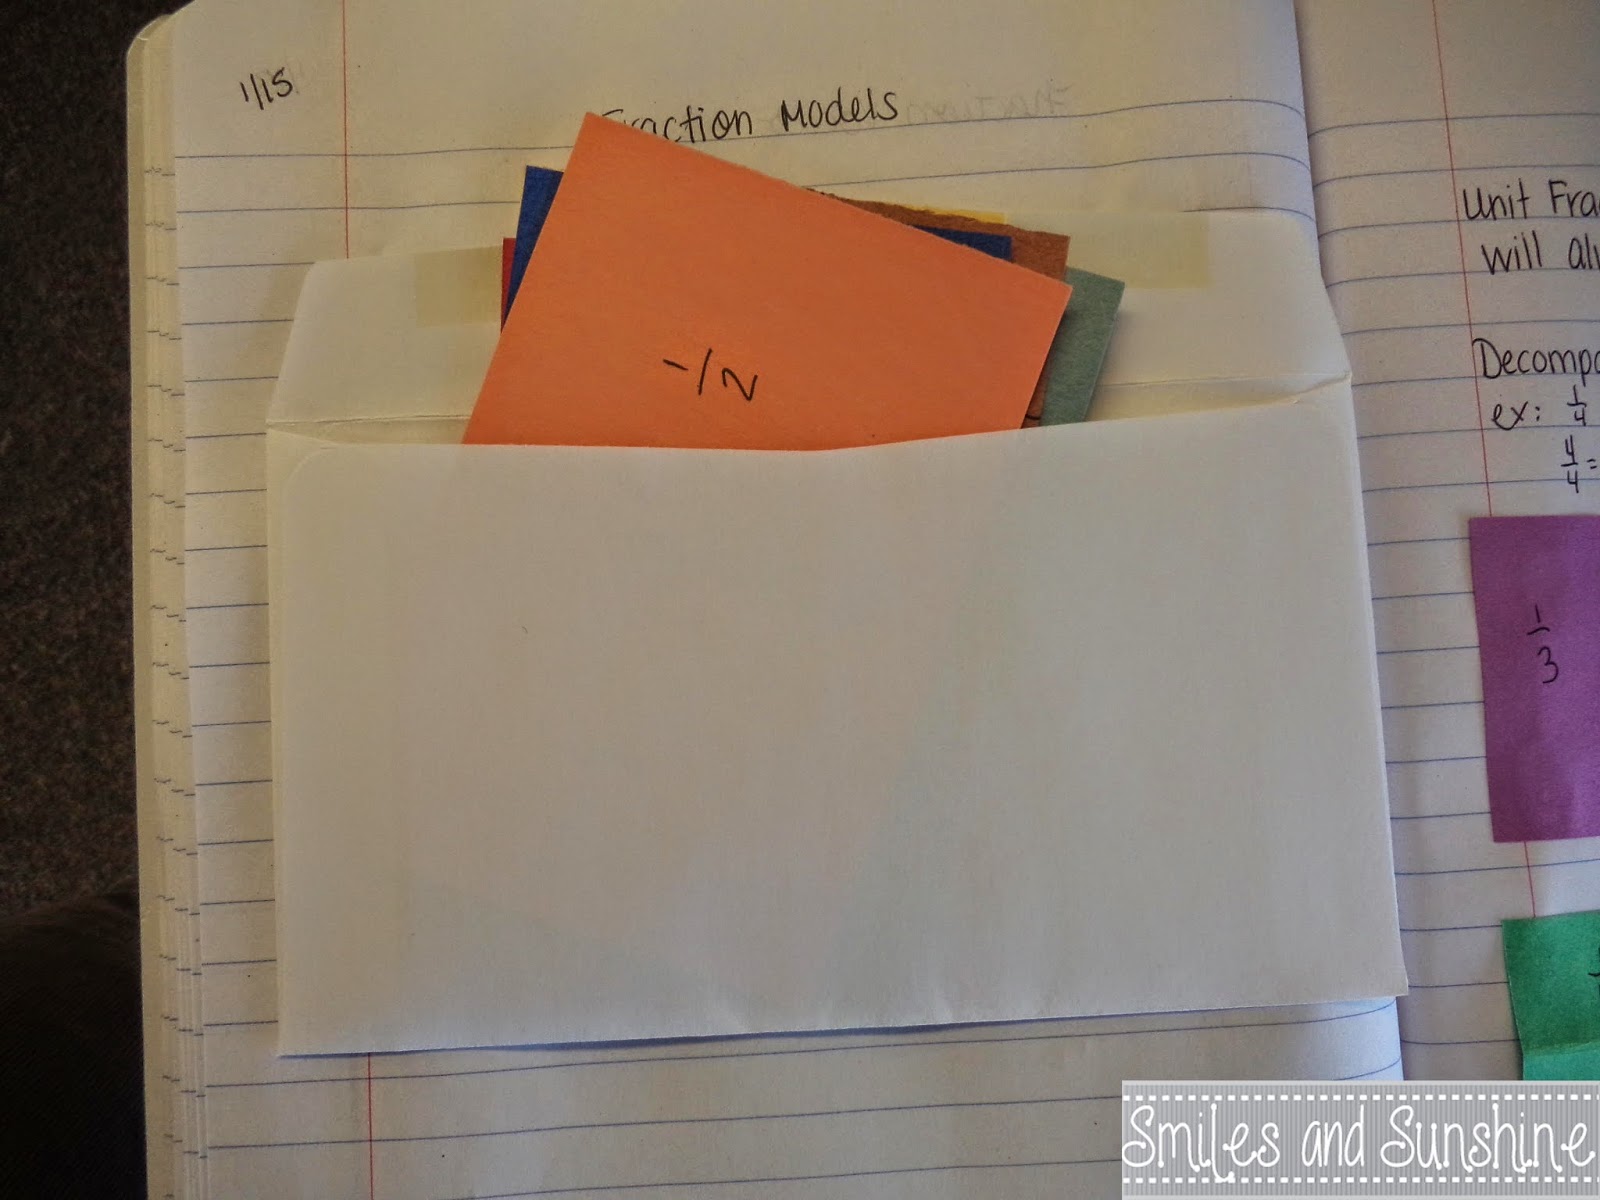
I started by making a set of fraction toolkits and measurement toolkits.
Now, my goal was to make these for pairs, so I put two sets of everything in the bins.

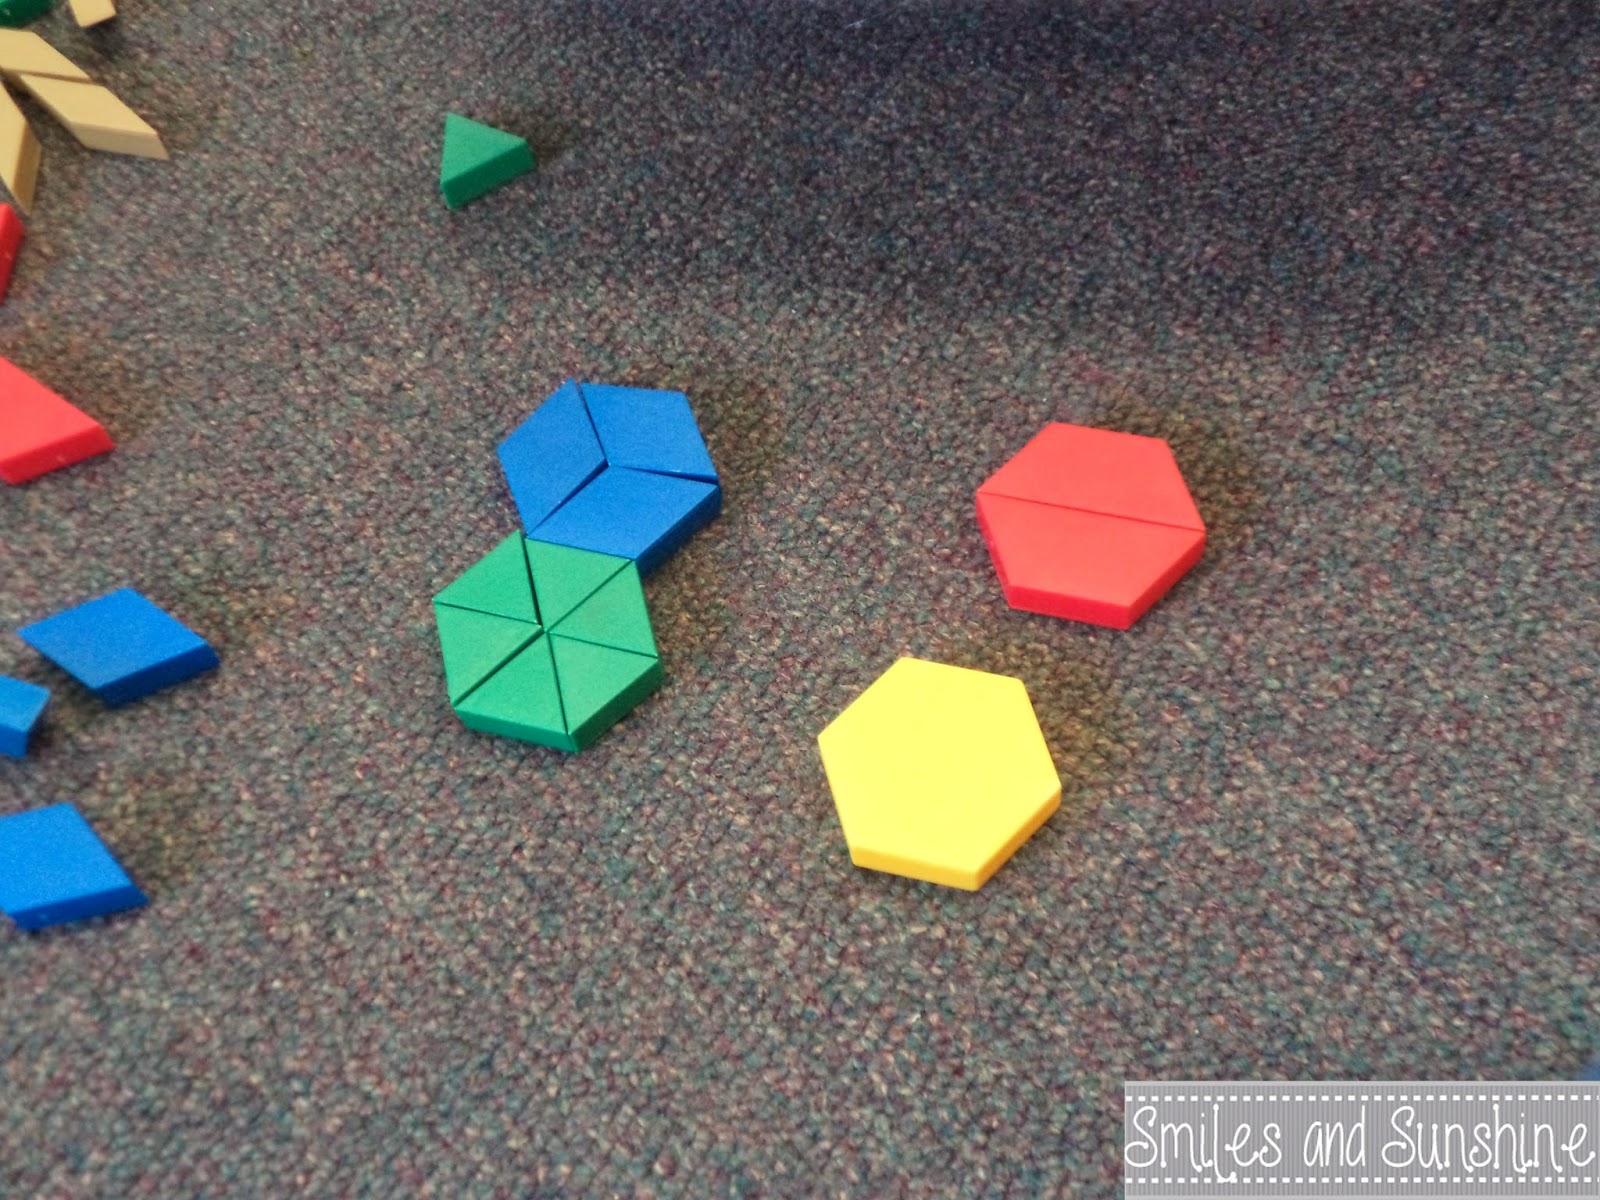
I started with my fraction stuff!

First, I put two sets of fractions circles in.
Then two sets of fraction bars.
And one fraction square set.
Some kits also have an extra fraction circle set-in foam!

They look so pretty!
I emptied about two containers!

Next up were the measurement toolkits!
I first put in the packet from Math in Focus, which had a ruler, a drawing triangle, and a protractor.
Then I put in a couple different sizes of protractors (and I still have so many more!)


Then, since we sometimes do nonstandard measurement, I added two lengths of unifix cubes (10 cubes a length) as well as measuring tapes.
I also added a safety compass (with instructions) to each kit-only 1, since I didn't have enough for doubles.

Nice and neat!
I mean, look at those beauties!
I had an extra container, so I made another fraction kit. Target only lets you buy 20 at a time :)
And on the shelves?! Perfection!
So pretty-even without labels!

My goal is to have between 12-14 sets for each topic-that way, I'll have 24-28 sets ready (I'm putting 2 sets in each kit). I'll be getting one or two containers each time I go to Target (or I'll order them online again-if I get another gift card!), so it will be a slower process.

Once they're labeled (and organized a little more), the kids will be able to grab them when they need them, and I can spend way less time looking for what I need.

I can't wait for the finished product!

Smiles and Sunshine,
Kaitlyn

Tuesday, February 10, 2015

Equivalent Fractions

Although we had a snow day and TWO delays last week-which led me to only teaching math TWICE, we did get in some fun with equivalent fractions. (And we're getting awfully close to a repeat this week...)
http://kaitlyn-smiles.blogspot.com/search/label/fractions
I started off by dividing the kids into 5 groups and handing them a stack of fraction cards. I told them to order the fractions from greatest to least and just had them go at it. (For more info, see The Teacher Studio-this came from her fraction pack).

I didn't give them any more direction than that, I wanted to see what they would do.

Now, my kids do know about equivalent fractions, we've talked about it as part of our daily calendar, so they knew they were likely to come across a few.

It was so interesting to watch their process and hear their discussions! I just wandered around, taking pictures and listening in :)
This group was trying to organize by sorting out the pieces into groups of fractions...

This group worked together wonderfully! They started by pulling out the halves, wholes and then tried to find more equivalent fractions by drawing models. They didn't finish, but their math talk and collaboration was amazing!

This group just worked one card at a time from the stack, reorganizing as needed.
OK-some long and boring background before the fun stuff.

My math block was also split this day-the first Friday of the month we have a school wide assemblies, so our specials are earlier and shorter. We did a little bit of writing in the first 10 minutes, and then did the centers after special-for an hour. Some of the kids finished everything and some could have used more time.

I will say that I had intended this to be a two day activity with more centers, but with all our snow days and delays (and the need to get into the math book-MiF starts them off with adding and subtracting fractions with unlike denominators!), I cut it down to one.
Our math notebooks were going to be one center, and we set it up the day before. We also did a little bit of math writing in the margins-I showed them the equation for creating equivalent fractions. The math notebooks came from Mrs. C's Classroom

Now onto fun stuff!

The next day, we did a round of centers that all had to do with equivalent fractions.

I set up three centers. Math Notebooks (we had glued in the entries the day before so they could work in them), Fraction Bars, and Pattern Blocks.


I set up the directions on the SMART Board.
Our first center was Math Notebooks.

I had pulled three entries for the kids to work on .
Modeling with bars

Modeling with circles

This one was fun-they had to find the equivalent fractions and slip them in the pockets.
Most of the kids were able to do this fairly self-sufficiently. The one they needed help on was the sorting one. We did go over the answers at the end :)

I also had the kids working with pattern blocks to find equivalents.


And using some fraction bars as well-it was fun seeing how they organized this!
Some of them just went for it, and some of them took the time to organize them into the wholes and work from there.

I had them record all answers in their math books-which I checked during work time, and which will also be a notebook grade at the end of the trimester.

They did very nicely! Like always, some needed more direction than others, some took off with it and challenged themselves, and some just did the minimum.

The very best part (to me), is that while they were 'playing' with the materials, they were creating equivalent fractions and talking about it. Hopefully, this will help them remember better!

After all, when we finally get into the math book, we'll be adding and subtraction with unlike denominators-they'll need their equivalent fractions then! (Really, Math in Focus? Really? You couldn't just stick to the CC?)

Smiles and Sunshine,
Kaitlyn

Wednesday, January 21, 2015

More Fraction Fun~Unit Fractions and Decomposing

After our start of our fraction unit, we moved onto some key vocab and models.
http://kaitlyn-smiles.blogspot.com/search/label/fractions
First, the students got 6 different pieces of construction paper (all the same size) and were instructed to divide each into a different fractional amount.
We added them to our Math Notebooks by gluing in an envelope to hold them.
I had the students label each section, which led us into a discussion about what a unit fraction was and how to decompose a number and what it meant.

They next day, students got a purple rectangle and a green rectangle-which were different sizes.

I modeled what I wanted them to do, first folding my rectangle into equal parts, and then labeling the parts.

After I had labeled the parts, I glued it into my notebook, and showed them how to decompose my whole, and the different ways I could do it.
Then, I asked the students to do the same thing-but they had to do it with sixths or bigger.

I loved leaving it open, because the kids self-differentiated. My not as secure friends stuck with sixths and eighths, while my very secure friends went up to thirty-seconds!
At the bottom, I gave the kids two fractions to decompose two different ways without the use of models as a quick assessment...it let me know who got it and who didn't!

I then gave them a little bit longer assessment to see how much they retained and if they understood the concepts we've been learned so far.

We had to fix some misconceptions about equal parts :)


We're almost done fixing misconceptions about fractions and equal parts, and will be moving onto fractions of a set next...We'll see how that goes!!

Smiles and Sunshine,
Kaitlyn
http://www.theteacherstudio.com/

Tuesday, January 13, 2015

Early Fraction Fun

We've been using The Teacher Studio's Hands on Fraction Bundle to start our fraction unit (since Math in Focus has us start with adding and subtraction fractions!)
Hands On Fraction Bundle:  3 Critical Thinking Fraction Re

All pictures are examples of lessons from this unit from my classroom use. Credit is given to The Teacher Studio for these ideas. If you are not following The Teacher Studio-well, why not? ;)
http://kaitlyn-smiles.blogspot.com/search/label/fractions
We started with dividing shapes into equal parts. Some were more successful then others! :)

After this activity, we debriefed, and had a discussion.

I've been trying to use my SMART Board more (especially now that our licenses have been renewed #teacherpolitics), so I created some companions to go along with these lessons.
I had them break into 2s and 3s to discuss what they noticed, and then write it on the board. We talked about each one (included the imprecise vocab!), which led into our next discussion...
They all agreed on their answers!

The next day, we started talking about halves and fourths (and defending your answers!). This has been my favorite activity of the pack so far.
I then had the kids split up into yes's and no's. I put two chairs in front of the board, and had kids come up to state their reasons.
After each student went, I asked if anyone wanted to switch their answers. They were very stubborn!

Until one friend....
We did manage to convince the last two holdouts :)

Using that as a springboard, I created some extra slides, to talk about equal parts.
I had them write their answers on post-it notes, and attach  it to the whiteboard on a chart I had quickly done up.
We did the same thing for the next slide.
Success! They all got the answers right for these.
No's for slide 1

Yes' for slide 2
We do need some help with our explanations...something to work on!

Now came the ultimate test-can they shade half a shape?
We shared our ways (and some were more creative than others)
and I also went over some unusual ways to shade...they weren't fooled :)

I'm loving how they are doing so far with this unit. We are still in the early days, but the kids haven't realized that we've been working with fractions (until I told them today for some vocab!)

I will admit that I was on the fence about buying this unit...but I'm really glad that I did. I would highly recommend this unit to anyone who wants to learn fractions in a fun, hands on way.

I can't wait to see what my kids do next!

Smiles and Sunshine,
Kaitlyn