Showing posts with label tips and tricks. Show all posts

Thursday, August 20, 2015

Planning Guides

I thought I would share today about my planning guide-which helps me when I do my weekly planning.

I've already talked about how I do my long-term mapping for ELA and Math, this will be how I do it on a daily basis.

Last year, I made a guide to help me with my process.
The left is this year's, and on the right is last year's.
I had a basic monthly map for ELA,
As well as Writing Expectations,

A Math pacing guide,

and of course, a set of Common Core State Standards for 4th grade.

Those I got from Mandy's Tips for Teachers-I liked her Facebook page and got them for free (although I don't know if she stills has them-it was a few years ago!).

I also added some things throughout the year-you can see my Science map and thinking routines taped onto some covers.

This year, I refined and added in some things, to make it more accessible for me.

I also added a table of contents for I can easily see what each section is (and I'll be adding tabs to it for easy flippage :)

I spent some time refining my ELA map,
 
A little more detailed, plus some CCSS added in!

as well as completely redoing my Math map (it was basically just a pacing guide before, know it has the skills taught in each lesson, as well as common core alignment as I saw it reflected in the lessons.)

I also redid my writing expectations, shifting some things around, and adding some things here and there (and putting into a horizontal format to fit the rest of the guide.)

I made sure to add in the science map and thinking routines section this year :)

I did retype the CCSS-again, to keep it in the horizontal format, I added in the Next Gen Science Standards, because while my district (and state) hasn't necessarily adopted them YET, I know they are definitely coming, and I want to keep this one for a few years :)


When I go to do my planning, I grab this guide, and am pretty much able to plan away. I don't need to lug my ginormous math teacher editions, or search through all my resources, because I have it in this handy-dandy guide.

I had it bound at Staples for under $4, and printed everything at home (I printed the covers on cardstock, and laminated them at school).

That's my planning guide! It may be a lot of initial outlay of time, to organize it all, but it saves me an equal amount of time throughout the school year (which is a much needed necessity!)

Smiles and Sunshine,
Kaitlyn

Tuesday, June 23, 2015

Math Toolkits~Place Value

Since I last talked about my Math Toolkits, I was able to sneak off to Target and grab a few more containers :)

Now I'm able to start my place value chips set and my base ten sets!

For my place value chips set, I took the bag
and basically just dumped it into a container. :)
There's usually enough chips for kids to share-also making this a partner set! (and BTW, my kids LOVED the chips! It really helped some of them this year learn the concepts-better than the base ten. If you have an opportunity-get some!)

For the base ten set, I needed a larger container-the 8.5 x 11 size.
I was also able to fit two sets in there.
Making this more of a double partner or quad set! (Plus, now I won't need as many containers :)

I'll still need to add labels, and I'll still have some random containers here and there (for cards, dice, pattern blocks, etc), but my storage will look so much  better when I'm done!

I've already been able to consolidate things, and empty containers and neaten it up!

I can't wait to see the finished product-as well as how easy it will make it for the kids to become more independent!

Smiles and Sunshine,
Kaitlyn

Tuesday, June 16, 2015

Math Toolkits~Fraction & Measurement

As I was looking at the mess that has become my shelves (again! Although it's not as bad when I first started :), I realized that there had to be a better way to store all of these manipulatives.

For new friends, I have at least 3 complete sets of some things-one that was already in the room, one from the Go Math! pilot from last year, and one from our new Math in Focus program this year!

As I was pulling down and rearrange the manipulatives to get what I needed for our game, a lightbulb went off!

Why don't I create topic specific math toolkits that have everything they need?

That way, the kids could easily grab what they needed (after they're labeled :), and it would take up less space and look neater/nicer.

Insert storage!


I did buy these with a gift card-if I hadn't had one, it would have been a much longer process getting what I need. As it is, I still need about 16 more smaller ones and 10 larger ones.

(I got these from Target online-but they are Sterilite containers, so you can get them anywhere (Target does place a limit on how many you can order at a time-and don't buy the bundle! It's about $3 cheaper to buy them individually than the bundle they have online)

Once I had unpacked them all, I lined them all up and pulled down the manipulatives I wanted to put in them.

I started by making a set of fraction toolkits and measurement toolkits.
Now, my goal was to make these for pairs, so I put two sets of everything in the bins.

I started with my fraction stuff!

First, I put two sets of fractions circles in.
Then two sets of fraction bars.
And one fraction square set.
Some kits also have an extra fraction circle set-in foam!

They look so pretty!
I emptied about two containers!

Next up were the measurement toolkits!
I first put in the packet from Math in Focus, which had a ruler, a drawing triangle, and a protractor.
Then I put in a couple different sizes of protractors (and I still have so many more!)


Then, since we sometimes do nonstandard measurement, I added two lengths of unifix cubes (10 cubes a length) as well as measuring tapes.
I also added a safety compass (with instructions) to each kit-only 1, since I didn't have enough for doubles.

Nice and neat!
I mean, look at those beauties!
I had an extra container, so I made another fraction kit. Target only lets you buy 20 at a time :)
And on the shelves?! Perfection!
So pretty-even without labels!

My goal is to have between 12-14 sets for each topic-that way, I'll have 24-28 sets ready (I'm putting 2 sets in each kit). I'll be getting one or two containers each time I go to Target (or I'll order them online again-if I get another gift card!), so it will be a slower process.

Once they're labeled (and organized a little more), the kids will be able to grab them when they need them, and I can spend way less time looking for what I need.

I can't wait for the finished product!

Smiles and Sunshine,
Kaitlyn

Thursday, May 21, 2015

Curriculum Mapping ~ Math Style

I recently(ish) blogged about how I map out my ELA curriculum for the year.

I thought I would share how I am going to do my Math curriculum-which is different from how I handle my ELA.
http://kaitlyn-smiles.blogspot.com/search/label/curriculum%20mapping
The first thing you should know is that I do follow the math program (although I do supplement, I follow the order of the lessons).

I follow it because this was our first year with it (and we spent a lot of money on it!), and I'm not as comfortable yet pulling away from it as I was with ELA (although I should note that it did take me three years to get frustrated with the order of the ELA program before I ripped it apart and reorganized it).

The things I recommend in my ELA post, I also recommend here.

The first thing I did was to sit down with the math book, and sheets of paper.

Since we had testing for TWO weeks, I used that time to work on this.

I started by going through each chapter/lesson and writing down the skills that it focused on (not just what the book says it focuses on) and write down the CCSS it covers.


This way, I could clearly see the skills that are being covered, as well as the standards.

Now, having said that ever since we looked at this program that it is not CCSS aligned (and there have been articles to proven I was right-it often goes above and beyond, or just mentions a standard here and there in a problem-which is not the same as teaching it), I also went through and added 5th grade CCSS where applicable (mostly in our fraction unit).

I also added the number of 'recommended' days to teach each lesson.
Now all the chapters are planned out, with skills and standards.

Then, since we had ANOTHER three days of testing for science (and we still have MAPS to take....sigh), I brought in my computer to start transferring it over.

I sat down with the chapter maps I had created, the book, and iPad (turned to CCSS standards so I could write them down) to plot it out (I pretty much use PowerPoint for everything now-it just gives me so much more versatility).

I talk about this app here and here
I started going through each chapter again, and noting down the skills in more detail on the computer.
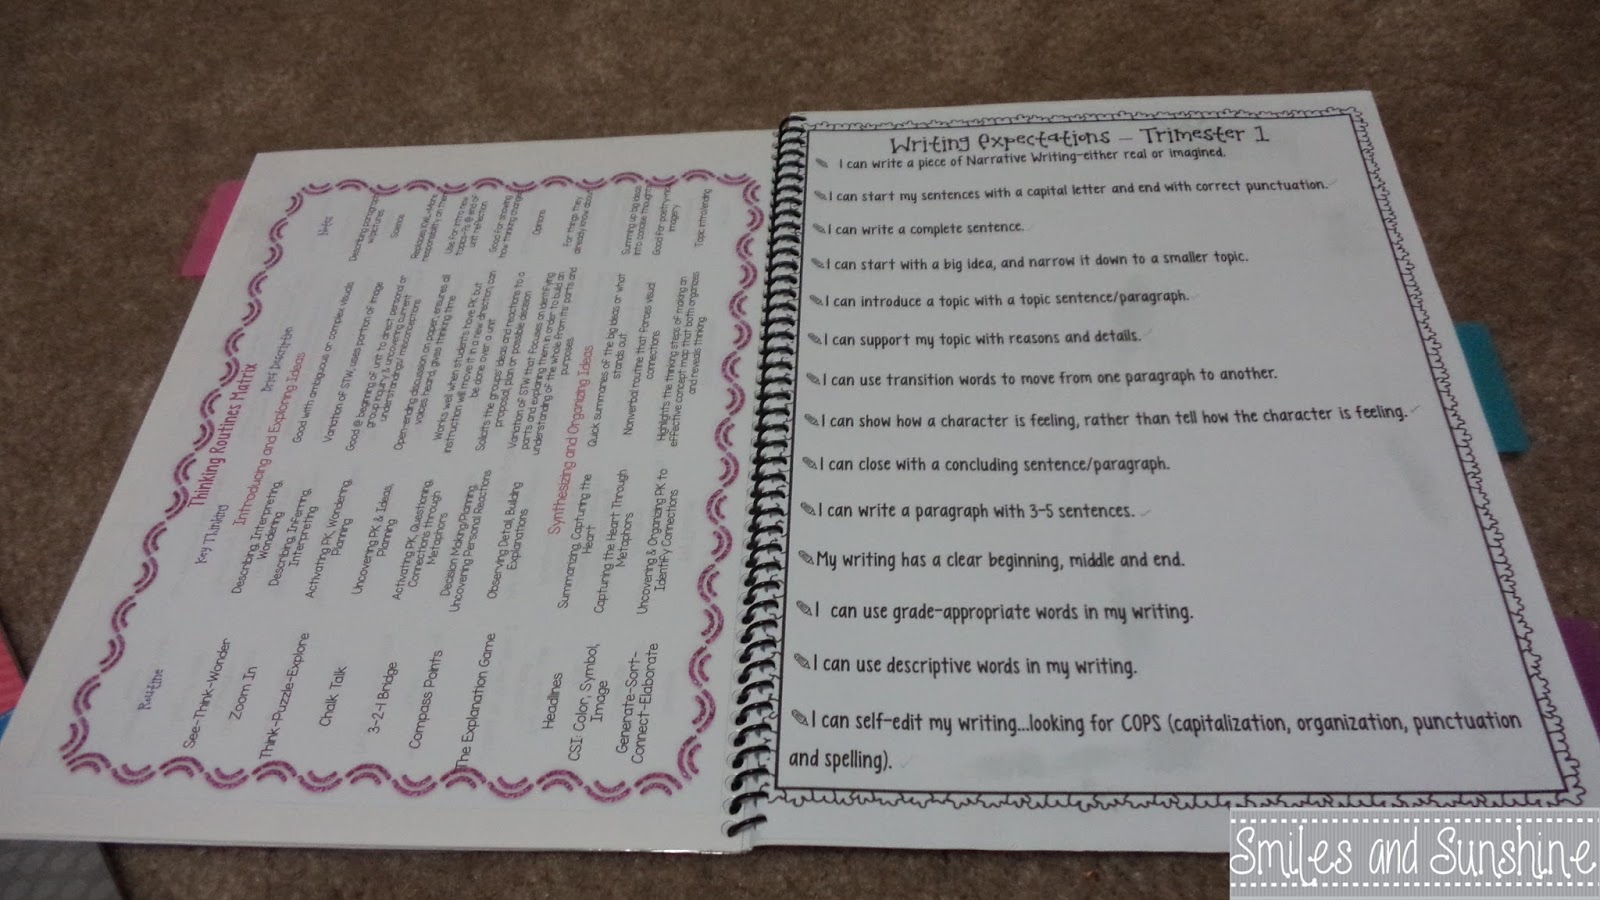
Sorry for the glare...my desk is right under the fluorescent lights
I'll also be adding the big idea in.

Now (when I finish), I'll have all the chapters and skills at a glance, and can fill in and supplement as needed. :)

Since I'm doing this one by chapter, and not necessarily by week like my ELA maps, I'll be able to use it for years to come.

I should add that I usually follow the 'flow'-chapter 2 follows chapter 1, etc., although I did put in geometry, angles and area and perimeter in between the fraction chapter and the decimals chapter-mostly because we were testing and I wanted something more fun. I also think it gives the kids a break from the heavy computation math.

Ideally, I would put the 'fun stuff' in between division and fractions-but we'll see for next year :)

Smiles and Sunshine,
Kaitlyn

Wednesday, May 20, 2015

The One iPad Class ~ Essentials, Part 2

This is part 2 of my essentials app post.

http://kaitlyn-smiles.blogspot.com/search/label/One%20Ipad%20Class
You can see Part 1 here.

First up is,
 Image result for remind {FREE} Remind is a way for you to stay in touch with your parents-without them having your phone number or them having yours! It can even work with students!
It's super easy to set up and use.

The Brown Bag Teacher and Flapjack Educational Resources both have posts on this (and I'm sure there are many more!)

Next is:
Image result for team shake {$0.99} Team Shake. I first learned about this from Glitter in Third. It's a great way to create random teams and pairing in your classroom!

You just have to add your class list.
Decide if you want a certain number of teams, or a certain number of people.

Give it a shake and it will create the groups for you!

You can also use the 'pick one' feature to just pick on one student (similar to picking sticks)
Very easy to use, and it takes the fuss and bother out of partners!

Last, but certainly not least,
Image result for pinterest {FREE}Pinterest (What? That's old and outdated, you say!) I actually use this quite a lot in my class-especially when making anchor charts!

First, I follow a lot of educamation types of people, so my home page usually looks like this
(Although there are days when it's mostly crochet pictures :)

I will search during class for whatever skill we are working on, and I'll get to pull up a feed of things related to that skill. I can scroll through and pull out and mention the things that I think are important and relevant.

Plus, it's also good when you have a few minutes and want to procrastinate on the paper grading :) I mean, when all you papers are done being graded ;)

Smiles and Sunshine,
Kaitlyn